This shop has been compensated by Collective Bias, Inc. and its advertiser. All opinions are mine alone. #SnackAndGo #CollectiveBias
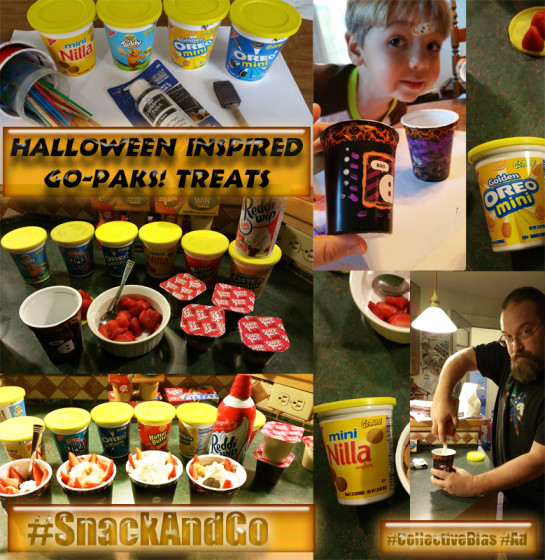
While Halloween is often associated with candy and trick or treating, I remember attending some great family friendly Halloween parties when I was growing up. Those parties had games and fun and awesome treats. When I was a kid there was no such thing as the ‘Walking Taco’ or Nabisco Go-Paks! But, if there were then, I think that this treat that I am about to show you how to make would have been a hit at every Halloween party on the block. So, in addition to bobbing for apples and eating donuts off a string we little ones would have been making our own Go-Paks! Halloween Treat creations.
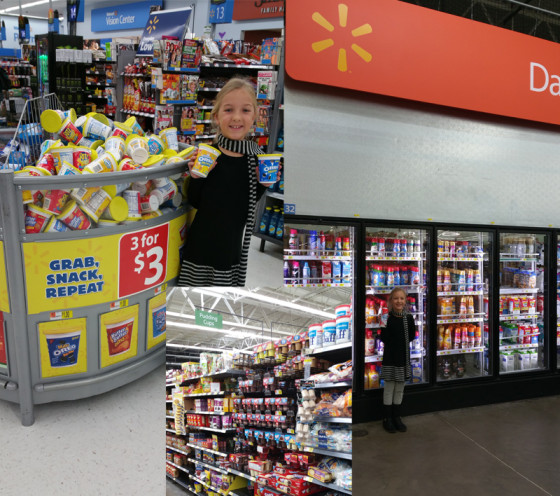
Last week when I took Eva for her special birthday breakfast we spent the rest of the morning at Walmart picking up all the materials that we would need for this activity. We picked up two of every one of the Nabisco Go-Paks! flavors, four different Snack Pack Pudding flavors, some strawberries and a can of Reddi-wip. We also picked up some paints, stickers, ribbons and Halloween themed tape. I wanted the decorating to be something simple enough for Andrew and Eva to both enjoy. Here is how we created our special Go-Paks! Halloween Treats. But before I get to that I want to let you know about this coupon: BUY ONE, GET ONE FREE NABISCO Go-Paks! Buy ONE (1) Snack Pack® Pudding and get ONE (1) FREE (up to $1.00) NABISCO Go-Paks! (2.25 oz. or larger)
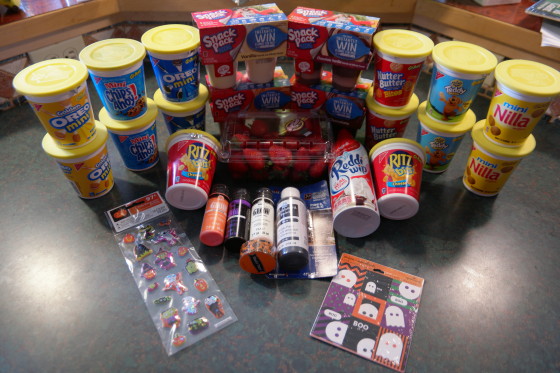
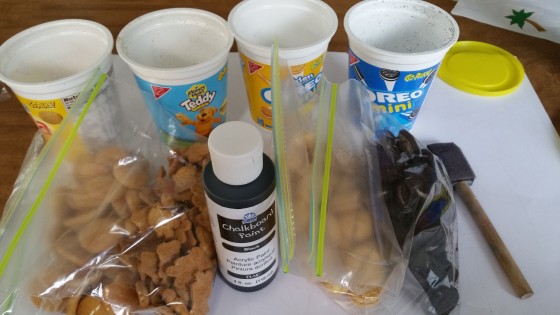
First we began by assembling all of our materials. We were only making four Go-Paks! Halloween Treats and so I picked out four of the Go-Paks! that we knew that we would use for our treats. The containers are great for filling because they are plastic and won’t leak. They also come with a cover and so you can eat part of the treat and put the rest in the fridge to eat later.
Step 1. Prepare to paint the Go-Paks!
Prepare the containers by emptying the contents and rinsing the containers.
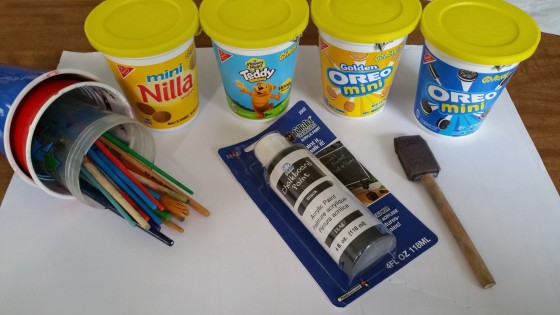
Step 2. Paint the Go-Paks!
I chose blackboard paint so that I could write names on the containers. This is great paint to use because you can write names on the containers so everyone knows which one is theirs.
Painting the Go-Paks! required a couple of coats to really get them the way I wanted them to look. I painted them and repainted them a few times so that they were a nice black color.
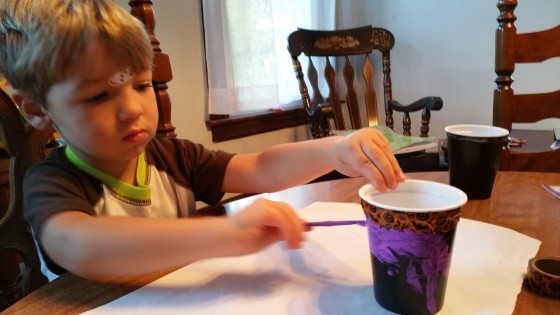
Step 3. Decorate the Go-Paks!
Once the Go-Paks! are painted and dried thoroughly you can then begin to decorate. The upper lip of the container is the perfect width of the ribbon that Eva selected. We applied a thin strip of glue to the ribbon and wrapped it around the top of the container.
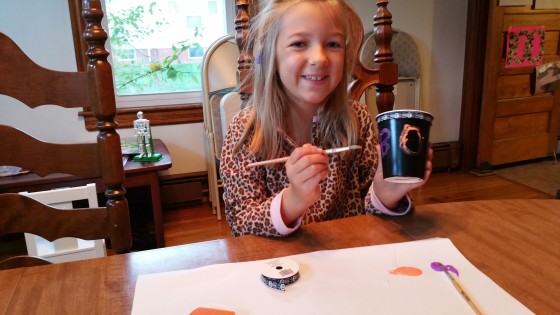
Decorating the Go-Paks! was a lot of fun. In addition to the chalkboard paint I also got some glow-in-the-dark paint and some Black Light Paint, Stickers and decorative paint.
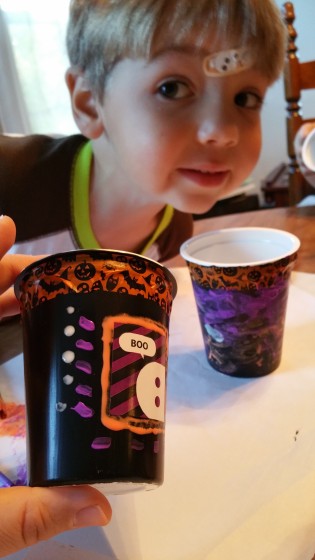
Andrew and I chose to use the decorative tape on our Go-Paks!
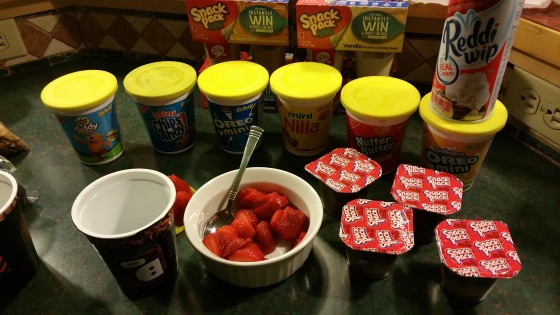
Step 4: Prepare your ingredients.
I put all the ingredients together on the kitchen island. I had the idea of making the treat to look like a monster’s mouth sort of inspired by Audrey 2 from Little Shop of Horrors. To do this I cup up the strawberries in quarters from top to bottom. I also cut up a bunch of other strawberries to use to fill the containers.
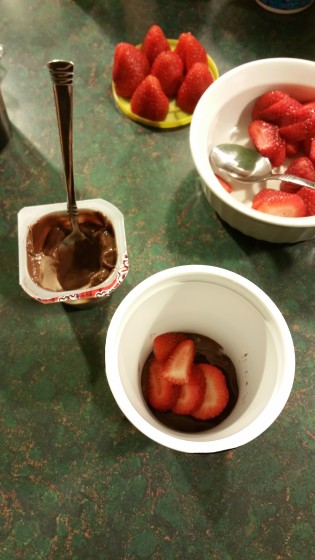
Step 5: Begin Layering your ingredients.
In creating my treat I started by putting chocolate/Vanilla Snack Pack® Pudding on the bottom of the container. Then I put a couple of spoonfuls of strawberries on the pudding.
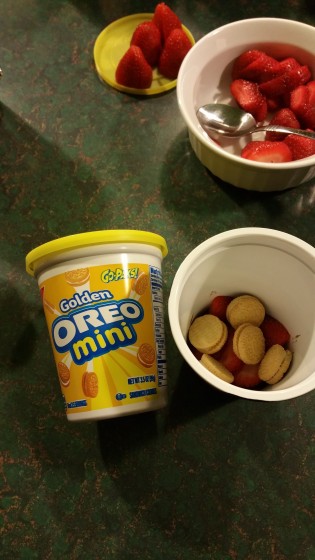
Step 6: Building the treat.
I continued to layer the tasty bits into my treat. For the next layer I choose the NABISCO Go-Paks! Mini OREO Golden Sandwich Cookies.
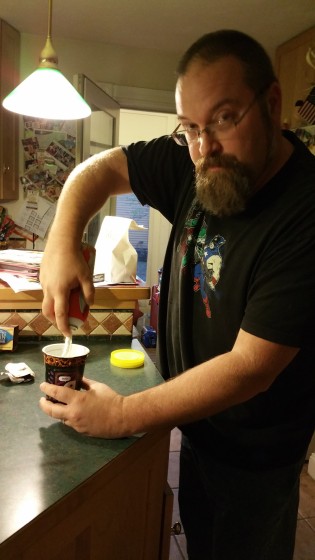
Step 7: Add some Reddi-wip to the treat
Sure Reddi-wip is a topping but it can also be a tasty layer right in the middle of the treat, too.
Step 8: Continue to Layer.
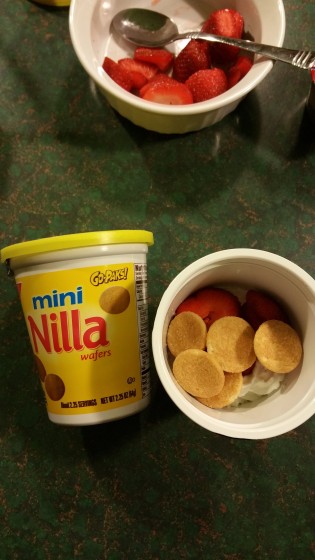
The nice thing about these NABISCO Go-Paks! is that they are only $1.00 each. That means you can buy a bunch of varieties without breaking the bank. And to add to the savings you can go to the Go-Paks! #SnackAndGo DeliciousMomentsOfJoy.com Site for a coupon to buy one Snack Pack Pudding get one Go-Paks! Free! So, for the next layer I choose the NABISCO Go-Paks! Mini NILLA Wafers.
Step 9: Decorate your finished treat.
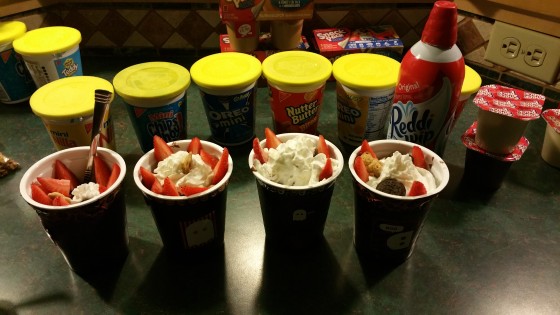
Once you get your container filled up with all the Mini OREO Chocolate Sandwich Cookies, Mini NILLA Wafers, NUTTER BUTTER Bites, TEDDY GRAHAMS Honey Graham Snacks and CHIPS AHOY! Mini Chocolate Chip Cookies, Strawberries, Snack Pack Pudding and Reddi-wip you get to decorate more. I put a nice layer of Reddi-wip and then placed the long slices of strawberries around the top of the container to make it look like the gaping mouth of a hungry alien plant. I put a TEDDY GRAHAMS Honey Graham Snacks in the middle of the Reddi-wip to make it look like he was being swallowed up.
Step 10: Enjoy your creation.
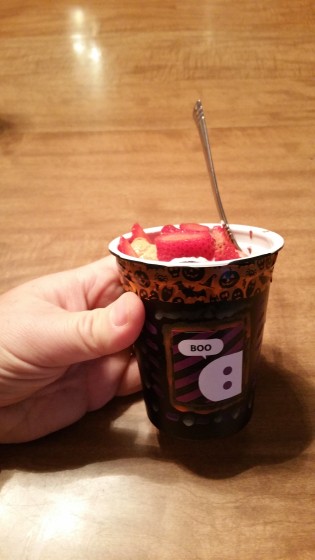
The combination of soft pudding and crispy cookies and tart strawberries is a perfect one. What is even better is that you can make these treats and take them on the go with you. Think of them as the “Walking Taco” of desserts.
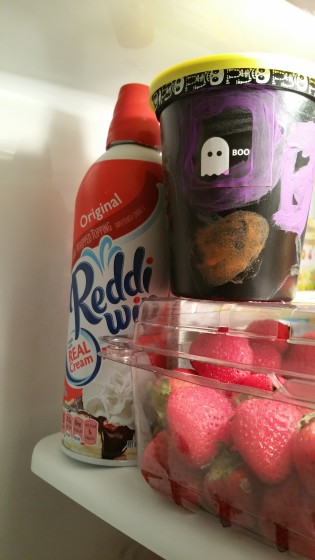
If your eyes are too big for your stomach then the Halloween treats in the Go-Paks! are great for storing in the fridge because they also have covers.
We are going to have a Halloween party at work and I will be contributing to the scary treats by bringing all the fixins for everyone to make their own. I’m pretty sure that they will be the hit of the party.
What would you add to these Go-Paks! to make an amazing Halloween treat?